- Products & Capabilities

- About
- Resources
How to Fix PCB Oxidation and Corrosion


PCB oxidation (copper-oxygen reaction) and corrosion (environmental damage) stem from moisture/chemicals; fixes include tools, repairs, prevention and troubleshooting, manageable with skills.
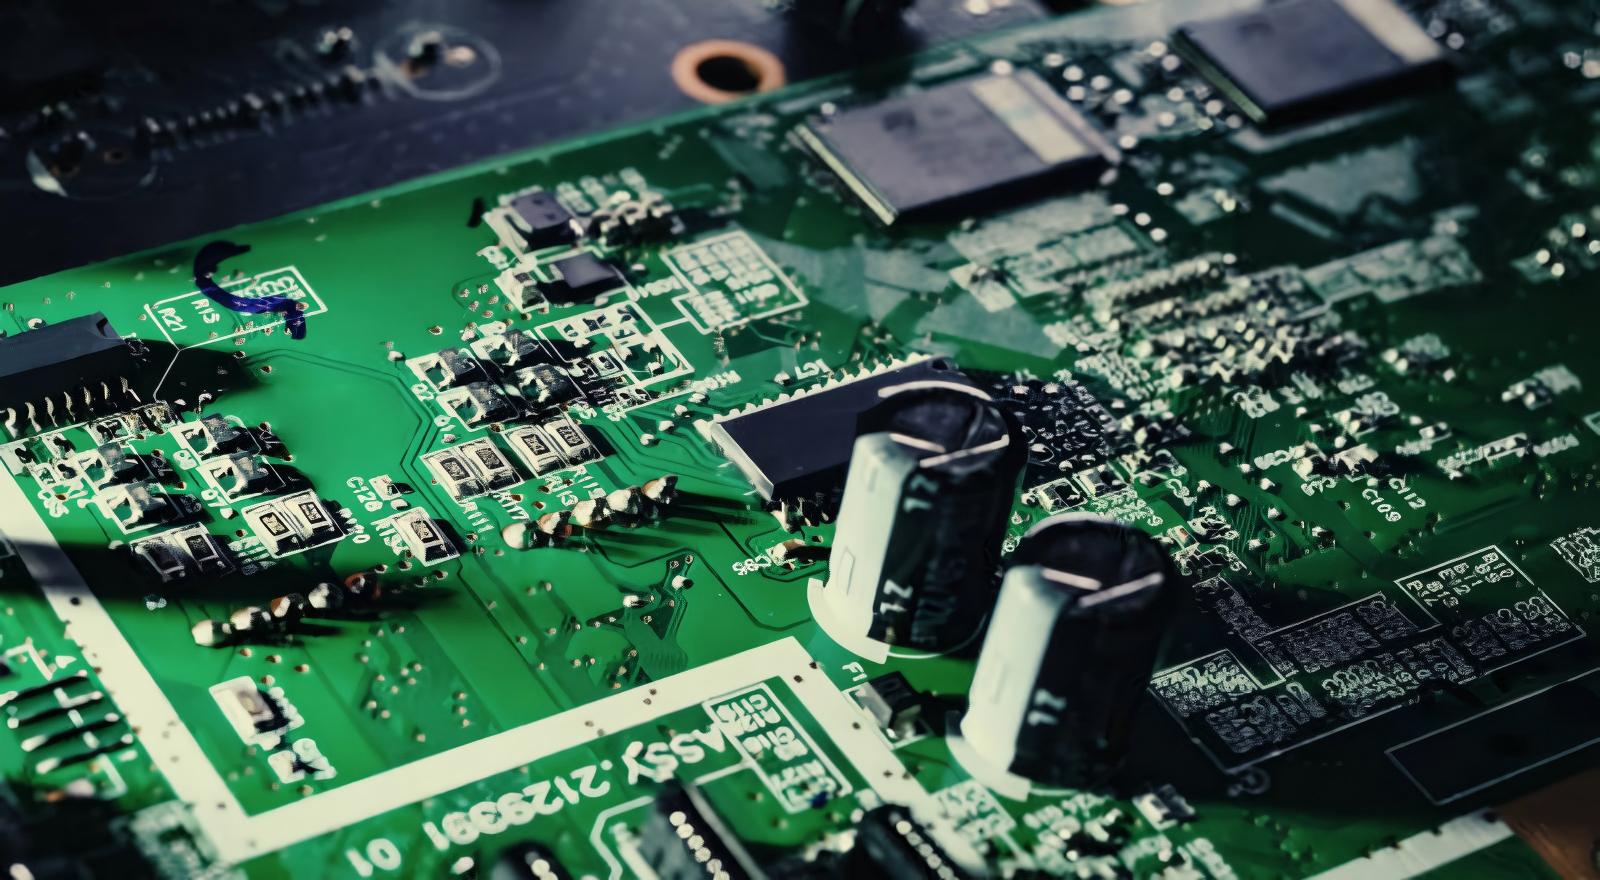
Printed Circuit Boards (PCBs) are the most fundamental components of all electronic equipment, whether it is a small consumer device or a large industrial control, and their mechanical and electrical integrity directly influences the performance, reliability, and life of the equipment. Among the least obvious and most prevalent threats to the functionality of PCBs are oxidation and corrosion, but the good news is that in most cases, repairing the damage is possible with proper techniques, equipment, and a logical process. Be it a hobbyist working on a home electronics project or a technician in charge of maintaining critical industrial PCBs, this guide is a summary of years of PCB engineering experience to make them fix oxidation and corrosion problems efficiently and put in place preemptive actions to avert future problems.
Understanding PCB Oxidation and Corrosion
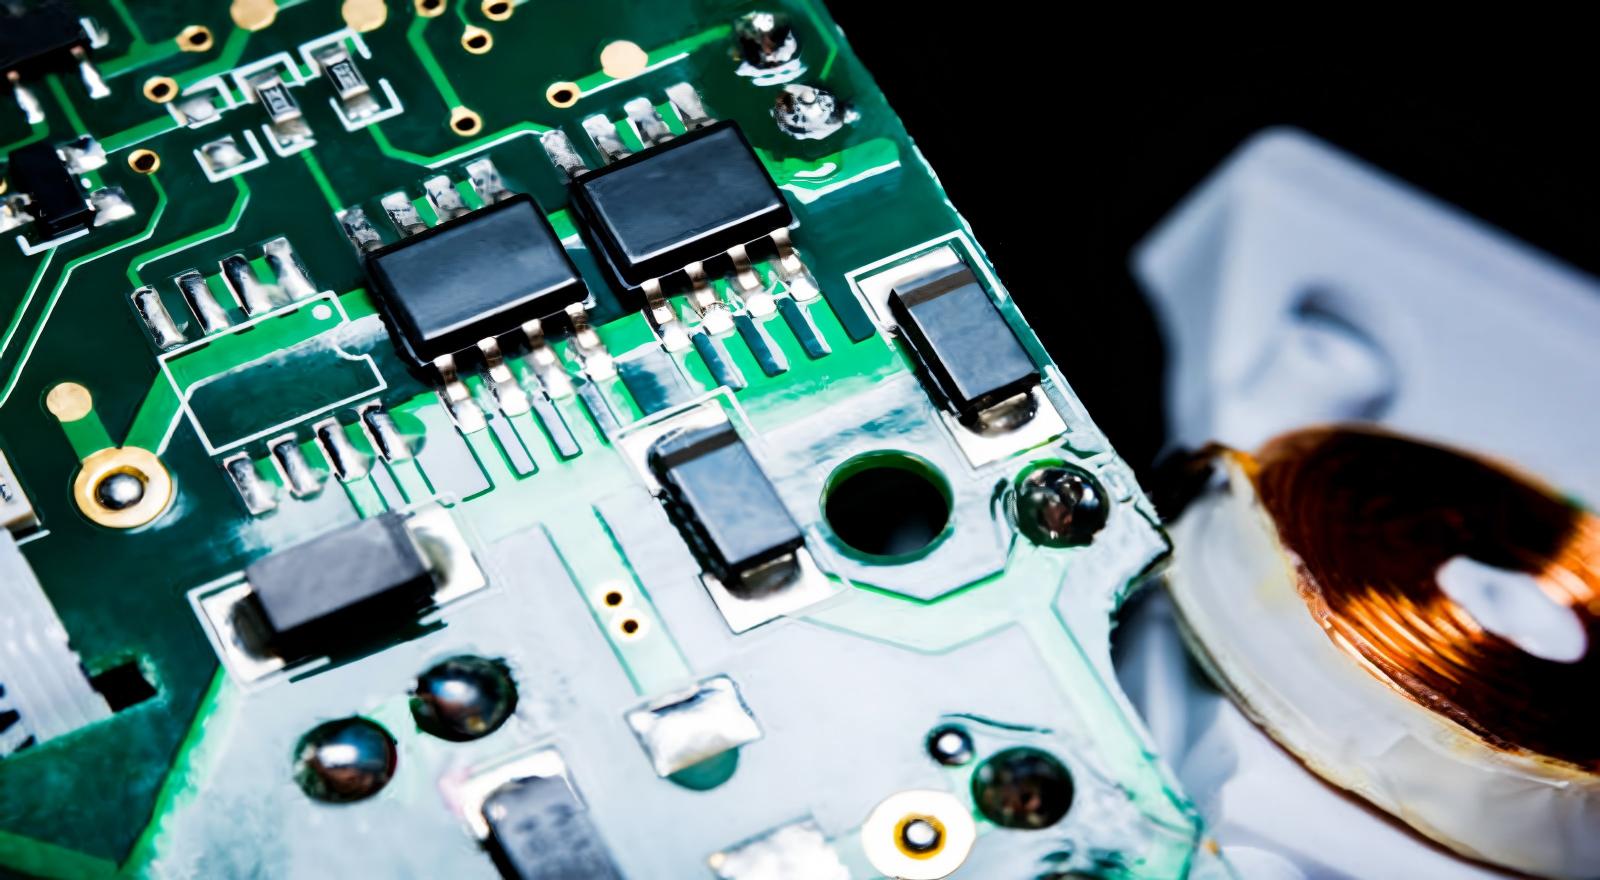
To begin with, it is essential to draw the line between these two related but different problems because they have to be repaired with slightly different approaches. Oxidation is the reaction between the copper trace material on a PCB and oxygen in the air to form an oxide layer over the copper-trace, a thin, dull, non-conductive oxide material, a thin layer of red cuprous oxide or black copper oxide, that interferes with the flow of electrical signals and breaks the connections. The more serious electrochemical corrosion, which is an environmental-induced process such as moisture, salt or chemical contaminants, may manifest as greenish (copper carbonate) or bluish patina, tiny pits or even total trace fracture. Both problems may cause electrical resistance to soar higher up to several ohms where a healthy trace would have been 0.01 ohms to more than 1 ohms in damaged regions, compromising signal integrity and causing intermittent device malfunctions, poor performance, or a total failure of a board.
Key Causes to Address First
To repair, the very first step is to determine the causes of oxidation and corrosion because it will not only direct the current repair but also allow you to take specific preventive steps. The responsible culprits of most PCB degradation are four major culprits:
Moisture and Humidity: Humidity is too high (more than 65%), creating a water film, which serves as an electrolyte, causing reactions to speed up. Long-term exposure to humidity of 80% PCBs is in grave danger.
Chemical Contaminants: Flash residues, soldering residues, or industrial chemicals (such as sulfur compounds) degrade protective metals and accelerate corrosion.
Temperature Changes: Repeating heating/cooling leads to condensation, whereby a humid atmosphere of oxidation is formed.
Poor storage / Handling: PCBs are susceptible to poor storage and handling in unsealed storage, bare-hand contact (transfer of sweat salts), and unprotected with protective coatings.
Essential Tools & Materials
The appropriate tools make the repair accurate and durable. We suggest the following necessities:
90 per cent isopropyl alcohol (IPA) to clean residue-free.
No metallic soft brush, microfiber cloth (to prevent scratching marks)
Solder iron (300-350℃), and rosin-core solder, desoldering wick/pump.
Multimeter (check continuity, aiming at less than 0.05 ohms to make good connections)
Acrylic or epoxy conformal coating to protect after repair.
Conductive epoxy or jumper wires (in case of extreme trace damage)
To prevent the latter, always work in a well-ventilated place and use anti-static gloves.
Step-by-Step Repair Process
Repair of PCB oxidation and corrosion is a step-by-step process that can only be done in a gentle manner to not cause additional damage to the board. To re-assemble your PCB back to full functionality, follow the following step-by-step instructions:
Inspect and Evaluate: Visually identify oxidation (dull discoloration) or corrosion (green/pitted) with the help of a magnifying glass. Test with multimeter to determine bad traces.
Clean Good: Wipe down using IPA and a soft brush. In case of intractable corrosion, apply 1:1 vinegar-water paste (do not use too much vinegar, as it is acidic) and rinse with IPA and dry completely with compressed air.
Repair Damaged Traces: In the case of minor pitting, add fresh solder. To make breaks, apply jumper wires (conducting epoxy) of trace width, which cures according to manufacturer directions. Test continuity post-repair.
Replace Broken Parts: Desolder bad components (300℃), clean pads and re-solder new parts- make sure solder joints are shiny and concave (no cold joints).
Apply Protective Coating: Spray conformal coating on repaired areas, and then 24 hours to dry at room temperature to provide long-term protection.
Advanced Repairs for Severe Damage
Basic cleaning and soldering is not always necessary in the case of large-scale corrosion: i.e. complete trace breakage, seriously damaged solder pads, or inner-layer damage. Such sophisticated processes may be used to rescue otherwise inoperative boards:
Conductive Epoxy: Fills trace cuts that cannot be soldered-cure 12-24 hours.
Pad Rebuilding: Repair kits are available to restore corroded solder pads with copper foil to re-solder them.
Professional Re-Plating: professional services should be used to re-gold or re-tin plate critical boards (industrial/medical) to recover functioning.
Prevention Tips
It is much less expensive and time-consuming to prevent oxidation and corrosion than to mitigate the effects of either one once it takes place. These are some simple but effective best practices that will help you to dramatically increase the life cycles of your PCBs:
Conformal coating should be done upon assembly/repair.
Place PCBs in anti-static bags, desiccated (less than 50% humidity).
House electronics in closed enclosure in extreme conditions.
Clean and check PCBs every quarter (monthly, when used in industry) in time to detect early damage.
Solving Common Problems
If you hit roadblocks:
Corrosion resistance: Dilute citric acid (5-10) and apply it to 30 seconds, rinse and dry.
Solder does not stick: Wipe off and apply flux to enhance sticking.
Constant high resisting: Check inner-layer damage--tested by professional services.
Corrosion and oxidation of PCB is a solvable process when equipped with the proper knowledge, equipment, and time. We are convinced in giving power to users to keep their PCBs in good condition, whether it is the surface oxidation or a serious corrosion, the above steps will provide a good long-term solution to the problem. You will be able to increase the lifespan of PCB, minimize down-time and expensive replacements by fixing the real problems, employing high quality materials and adhering to the tips of proactive prevention. In complicated repairs or expert advice, place your faith in the hands of PCBX to ensure your electronics are functioning at our best.
Hot Tags:

Contact us

If you can't find what you're looking for, please contact us.
Article
PCBs are essential but prone to faults. Diagnosis and repair using tools like multimeters and X-rays prevent costly repairs, ensure reliability, and improve quality.
 2024/11/26
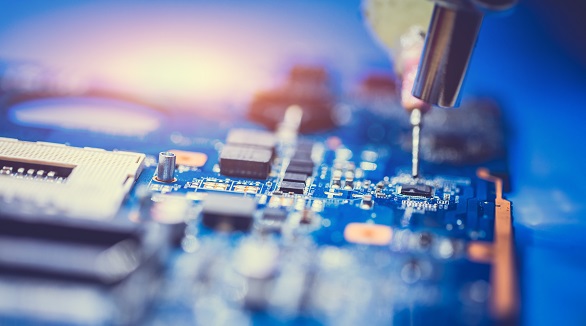
Printed Circuit Boards (PCBs) are crucial yet prone to corrosion, leading to malfunctions or failures. This article outlines detecting corrosion signs, preparing for cleaning, required materials, and step-by-step cleaning methods using isopropyl alcohol or alternatives. It also covers drying, reassembly, and preventive measures. Seek professional help if corrosion is severe.
2024/09/13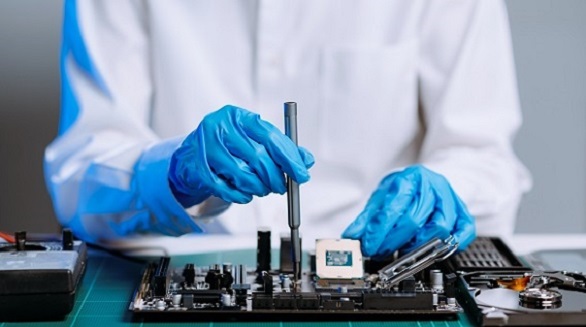
Conformal coating protects PCBs but sometimes needs removal. Local removal uses soldering, solvents, or mechanical abrasion. Full removal is more labor-intensive, involving chemical stripping or extensive mechanical abrasion.
2024/08/01